Survivor Guide
Last verified: Sep 18, 2026 · Patch 1.0.2 + week-one roadmap
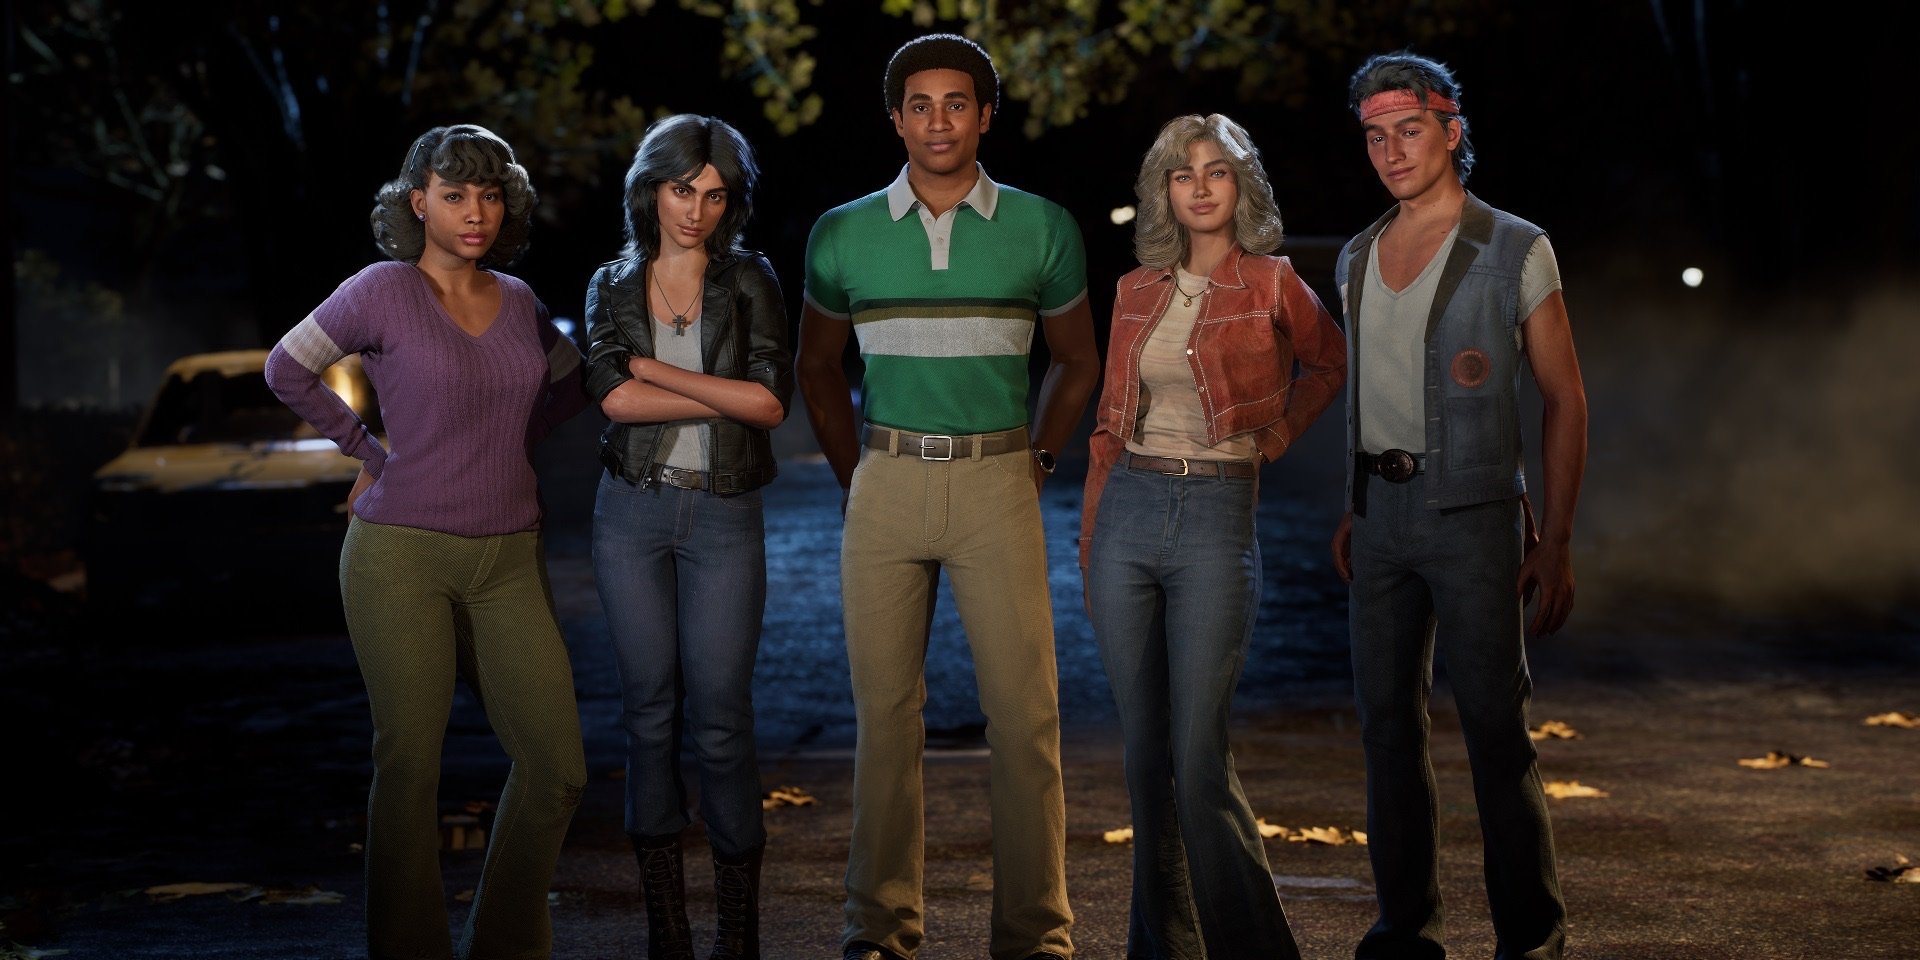
Halloween: The Game's survivor side casts you as one of the Heroes of Haddonfield — civilians trying to save their neighbors from Michael Myers. This survivor guide walks through the confirmed hero loop: finding residents, convincing them to follow, alerting the authorities, arming up and reaching the randomized escapes before the Boogeyman finds you.
THE SURVIVOR'S GOAL
You win as a civilian by saving residents and escaping — not by killing the killer. Matches are 1v4: one Boogeyman against up to four Hero players, each of whom can also recruit NPC townsfolk along the way. The Shape "can't be killed," so every second spent fighting him directly is a second you're not evacuating the neighborhood. The official loop, from the multiplayer overview:
- Find residents. Points of interest across the map reveal NPC residents, lootable containers, hiding places, telephones and possible escape routes.
- Convince them. Successful conversations persuade residents to follow you, request extra police calls, hide, or accompany you through the streets.
- Alert the authorities. Calls to the police escalate patrols — "convincing townsfolk and contacting the police will lead to increasingly powerful and thorough neighborhood patrols."
- Arm up and escape. Loot weapons, distractions and key items from containers, unlock one of several randomized escape routes, and get out.
Escaping is loud. Starting an escape sequence generates heavy noise and pinpoints you to Michael — coordinate so the distraction is someone else's problem.
THE FOUR CIVILIAN STATS
Every playable civilian has unique stats and a signature trait. The four stat categories, exactly as IllFonic described them in the progression overview:
| Stat | What it controls |
|---|---|
| Athleticism | How quickly and efficiently a civilian moves through Haddonfield on foot or by bike. |
| Personality | Ability to convince residents, alert authorities and command followers — plus Fear and Stalk resistances. |
| Resourcefulness | Repair expertise, environmental awareness, and competence with motor vehicles and firearms. |
| Capability | Overall vigor and prowess when wielding melee weapons or throwable household items. |
Launch-build values for all 12 civilians are below, ordered as Capability / Athleticism / Personality / Resourcefulness:
| Hero | C / A / P / R | Best fit |
|---|---|---|
| Marcus Navarro | 7 / 5 / 4 / 10 | Top Resourcefulness pick; opens locked doors with Trespasser and has a 20% chance to preserve a repair pack. |
| Laurie Strode | 8 / 6 / 9 / 7 | Balanced rescue leader; highlights residents within 25 m while calm. |
| Tanya Harrison | 4 / 6 / 10 / 5 | Personality support; Hi-Fi detects Michael within 7 m of her active noise maker. |
| Rachel Calahan | 7 / 5 / 2 / 8 | Fighter; Full Moon removes 40% of Michael's Bloodthirst when he is downed. |
| Alexis Prucess | 2 / 8 / 10 / 5 | Follower specialist; Popular gives protecting followers 90% damage reduction and 50% less Fear. |
| Eric Dunn | 6 / 3 / 6 / 8 | Equipment utility; highlights escapes within 25 m while calm and reloads ranged weapons and flashlights 10% faster. |
| Richard Hawthorne | 6 / 7 / 9 / 5 | Mobile talker with a situational 40% melee boost while both high and intoxicated. |
| Jennifer Aarons | 5 / 9 / 6 / 7 | Fastest scout by raw Athleticism, with enough Resourcefulness to carry route objectives between discoveries. |
| Thomas Armitage | 7 / 8 / 10 / 2 | Mobile resident leader with maximum Personality; pair him with a repair specialist. |
| Lynda van der Klok | 4 / 8 / 7 / 5 | Mobile support who can scout and rotate quickly but should avoid taking the front line. |
| Bob Simms | 9 / 8 / 4 / 3 | Top Capability pick and a fast melee protector; weak at repairs, vehicles and resident conversations. |
| Annie Brackett | 5 / 4 / 6 / 8 | Resourceful route and equipment specialist whose low Athleticism rewards careful positioning. |
The role split is now measurable: Personality-heavy heroes lead rescues, Athleticism heroes scout and ferry, Resourcefulness heroes drive and shoot, and Capability heroes hold the line. See the characters stat table for more trait values.
Base stamina now waits longer before regenerating, Evil Presence drains more stamina, and Stalk adds a level-scaled regeneration penalty. Low-Athleticism heroes recover from Exhausted faster and received quicker regeneration, while heroes at Athleticism 6–10 have slightly less maximum stamina and a slower regeneration rate.
WHICH HERO TO PICK
The Standard Edition ships with 10 playable civilians; the Digital Deluxe adds Richard and Alexis. The full cast and their backgrounds live on the characters page; the short version for picking a main from all 12 launch spreads:
- Best all-rounder: Laurie. Her 8 / 6 / 9 / 7 spread has no weak category, and Spatial Awareness helps route nearby residents.
- Best objective specialists: Marcus or Annie. Marcus has maximum Resourcefulness, lock access and repair-pack efficiency; Annie also brings 8 Resourcefulness when the team needs a second route runner.
- Best rescue supports: Thomas, Tanya or Alexis. All three bring maximum Personality. Thomas adds 8 Athleticism, Tanya tracks danger around active noise makers, and Alexis makes protecting followers dramatically tougher.
- Best scouts: Jennifer or Lynda. Jennifer leads the roster with 9 Athleticism and adds 7 Resourcefulness; Lynda's 8 Athleticism and 7 Personality make her a flexible second runner.
- Best fighters: Bob or Rachel. Bob's 9 Capability and 8 Athleticism are built for mobile melee protection, while Rachel's traits punish Michael's Bloodthirst and improve close-range warning.
- Utility alternatives: Eric or Richard. Eric favors escape and equipment awareness; Richard offers 7 Athleticism and 9 Personality but needs specific item states to unlock his biggest combat bonus.
PERK CARDS & DECKS
The civilian customization system is built around rollable Perk Cards. Official mechanics:
- Completing matches earns Perk Points.
- Spend Perk Points to roll for Perk Cards that grant gameplay boosts of varying levels. Spending more points per roll improves the odds of higher-rarity cards.
- Owned cards can be temporarily upgraded with Perk Points, raising their level for a set number of matches.
- Build Perk Decks from your collection and equip them to a civilian's loadout.
- As of Patch 1.0.1, each deck can hold no more than two copies of the same perk. Existing decks above the cap have excess copies automatically unequipped.
The random rolls mean "no two matches play out the same." Expect to maintain multiple decks — a loud rescue-and-escape deck, a quiet stealth deck, and a fight-back deck — rather than one universal build.
FIGHTING BACK (WHEN YOU MUST)
Household items are the hero arsenal: melee weapons and throwable objects scale with Capability, firearms and vehicles with Resourcefulness. You can also command and equip NPCs with weapons to outsmart or overpower the Shape, creating "precious windows for escape."
Two hard truths from official material:
- Michael can't be killed — the best case is detaining him with enough community resistance, proper equipment and sheer manpower, then shipping him back to Smith's Grove.
- Dead civilians stay in the game. You return as a Sheriff's Deputy or Dr. Loomis and keep cooperating with the survivors and responding officers. Giving up is never correct.
Item and weapon uses at a glance
"Household items" covers a lot of ground, and the difference between a wasted slot and a clean escape is knowing which object does which job. The short version, before you loot:
| Item | Best use for a hero |
|---|---|
| Flashlight | Light and information. Shine it on Michael during Shape Jump to mark him, or point it straight at him to blind and stop a shift. |
| Brass Lantern | An early-warning tool: lit, it reveals Michael while he is moving in his hidden Shape Jump form. Throwable once activated. |
| Road Flare / Flare Gun | Road Flares blind Michael when thrown; a Flare Gun fired skyward adds police pressure, or damage and blind him at close range. |
| Firecrackers | Loud, blinding distraction — the cheapest way to pull Michael off a teammate or an escape. |
| Fragile Hourglass | Thrown, it slows Michael; held, it reveals escape items within roughly ten meters. |
| Ancient Amulet | Automatically cancels one grab or attack from Michael, then shatters. Pure insurance. |
| Ice Pick / Pocket Knife | Stab Michael the instant he grabs you to break the hold faster; usable as ordinary melee weapons too. Far fewer of these spawn per map since Patch 1.0.2, so grab one when you see it. |
| Baseball / Brick / Rock | Throwable noise and stagger — redirect Michael without spending health. |
| Lawn Dart | Ranged damage and a grab-escape tool in one. |
| Kitchen Knife / Cleaver / Hatchet | Close-range melee; the lighter blades also throw and can free you from a grab. |
| Axe / Pickaxe / Pitchfork / Baseball Bat / Fire Poker | Heavier two-handed melee that hits harder and can smash fragile objects; pitchforks throw. |
| Magnum Revolver / Shotgun / Rifle | Firearms for range and burst damage — a rifle headshot can drop Michael instantly. Loud and ammo-limited. |
| Health Kit / Health Spray | Healing. Kits take time and hold several uses; spray is quick and works on teammates and residents. |
| Bolt Cutters / Repair Kit / Fuse | The route tools — chains, engines and the Gate keypad. Worth more than a weapon once your team picks an escape. |
Damage from melee weapons and thrown objects scales with Capability; firearms and vehicles scale with Resourcefulness. For every item, including the tools each escape route demands, see the full items & weapons guide.
Now that the Pocket Knife can be equipped as a civilian Starting Item, Patch 1.0.2 cut the total number of Pocket Knives and Ice Picks that spawn across all maps and locations. Treat every grab-escape item you find as a limited resource: pick it up when you spot it, call out its position if you cannot carry it, and accept that some grabs have to be escaped by struggling rather than by stabbing.
The flip side is that taking a Pocket Knife as a Starting Item guarantees you one escape tool that will not be looted out from under you — a stronger pick in the current balance than it was at launch.
How to arrest Michael Myers
Current launch-build testing shows that an arrest is a coordinated alternate finish, not something one armed hero can trigger alone:
- Build police presence. Convince residents that they are in danger, then choose Call for Help, or use a phone yourself and pass both conversation checks. Michael can stop a call by cutting the phone line or attacking the caller.
- Bring in a player-controlled authority figure. One teammate must first escape or die and enter spectator mode. An active player can then use a marked CB Radio to bring that spectator back as Dr. Loomis; alternatively, a spectator can earn the Police Reinforcements perk through the spectator mini-games and return as an officer.
- Fill the Arrest Meter. Gather several responding officers plus the player-controlled officer or Loomis around Michael. Their presence fills the handcuff-shaped Arrest Meter.
- Down him after the meter is full. Focus ranged and melee damage while flashlights and flare guns keep him blinded. Starting the takedown before the handcuff meter is ready does not complete the arrest setup.
- Complete the arrest interaction. While Michael is down, move in, hold interact and finish the arrest mini-game before he wins his get-up interaction. Perks that extend his downed time make this final window safer.
Police presence, a player-controlled officer or Loomis, a full handcuff meter, enough damage to down Michael, then the hold-interact mini-game. Missing any link turns the fight into a temporary knockdown rather than an arrest.
What's next for civilian combat
IllFonic's week-one status post confirms the next balance update is aimed squarely at melee-heavy civilian play — and at one strategy in particular. The team wrote that it wants "to combat would-be Bob Squads," the lobbies built around piling civilians onto Michael with stacked perks, and it is planning "a series of changes designed to reduce the excessive effectiveness of select perks." Three named systems move in that pass:
- Civilian stagger states are being tuned. Stagger is named alongside melee damage and combo attack speed for weapons like the wood axe, so the knockdown-to-combo chain is the part being rebalanced first.
- Grab and Struggle keep shifting. The developers confirm they are "continuing to tune the Grab/Struggle dynamics" between Michael and civilians, which means the escape window around a grab is still a moving target.
- Michael becomes harder to knock down repeatedly. The same update makes it "more difficult to stagger Michael, especially after successive downs," directly weakening the plan of chaining knockdowns while a teammate works an objective.
Do not build a team identity around a permanent melee pile-on. Keep the habits that survive any balance pass: an escape route chosen early, at least one thrown or ranged option in the squad, and fights treated as distractions that buy a window rather than as the objective itself.
Timing from the same post: an update is targeted for the week of September 21, with a Quality of Life update planned for early October. Nothing is live yet, so your current builds still behave as documented elsewhere on this page.
STEALTH & NOISE DISCIPLINE
IllFonic's stealth design applies to both sides. Official notes say heroes "must remain careful and quiet while attempting to rescue their neighbors" — generating excessive noise, being reckless with a flashlight, or carelessly escorting residents can force an unwanted encounter with Michael.
- Flashlight discipline: light is a shield for civilians (Michael can only Shape Jump in darkness) but a beacon when swept carelessly.
- Resident escorts draw attention: move escorted NPCs through cover and pause when Michael is near.
- Hiding places exist for a reason: use them to break line of sight and drop the stalk meter if Michael is fixated on you.
- Fear and Stalk resistances are governed by Personality — high-Personality heroes are the natural bait-and-rescue specialists.
MAP & ESCAPE NOTES
Escape routes and key items shuffle every match, so let the items your team finds determine the route instead of forcing the same exit every round. Patch 1.0.1 also increased the distance from which civilians discover an Escape, making nearby objectives easier to uncover while scouting.
Default escape priority — until the match tells you otherwise
- Check the Storm Cellar first. It usually has the fewest missing pieces: clear the current obstruction, then follow the HUD prompt for a Key, Bolt Cutters or the required action.
- Build Police Wagon progress in parallel. Safe phone calls and convinced residents advance an item-free exit while the rest of the team searches. It is slower than a lucky cellar, but it does not depend on finding one rare route item.
- Promote the Gate when a Fuse appears. The Gate is normally the hardest core route because it adds a Fuse and another interaction to the unlock, but a known Fuse plus Key or Bolt Cutters can instantly make it the shortest remaining plan.
- Treat the Sedan and Police Car as conditional. The Sedan needs three separate items and can be stalled by Blackout or damage. A Police Car is opportunistic because its key depends on an officer dying and dropping it; either vehicle may need another Repair Kit after it is disabled.
This is a planning order, not a fixed tier list. The best route is always the one with the fewest missing requirements in this match, a safe approach and a second route ready if Michael locks down the first.
How the four escape routes work
| Escape | What you need | Important risk |
|---|---|---|
| Police / Paddy Wagon | Complete successful police calls to build the response meter, then board the wagon when it arrives. | Calling takes time and can expose the caller; keep the room covered or ask a resident to handle it. |
| Storm Cellar | Clear the entrance shown in that match. Barriers can include boards, vegetation, chains or a padlock, with the HUD specifying whether you need Bolt Cutters, a Key or another clearing action. | Finding the cellar only reveals the current barrier objective; do not assume one tool works in every round. |
| Outskirt Gate | Bring a Fuse plus the unlocking tool requested by the objective — either a Key or Bolt Cutters. | The Fuse is route-specific and easy to lose track of, so ping or call out its location if you cannot carry it. |
| Sedan | Use a Repair Kit on the engine, add Gasoline, and start it with the distinct Sedan Key. | Michael can damage a repaired engine, and Blackout can stall the car while it is moving. A damaged engine needs another Repair Kit. |
The moment your team starts activating an escape, Michael is alerted to its location. Deliver every required item before beginning the loud step, assign one hero to watch the approach, and have a fallback route if he locks the area down.
For Story Mode players, Patch 1.0.1 also fixed the achievement that should unlock after completing Chapter 5.
The four maps also have stable geography worth learning:
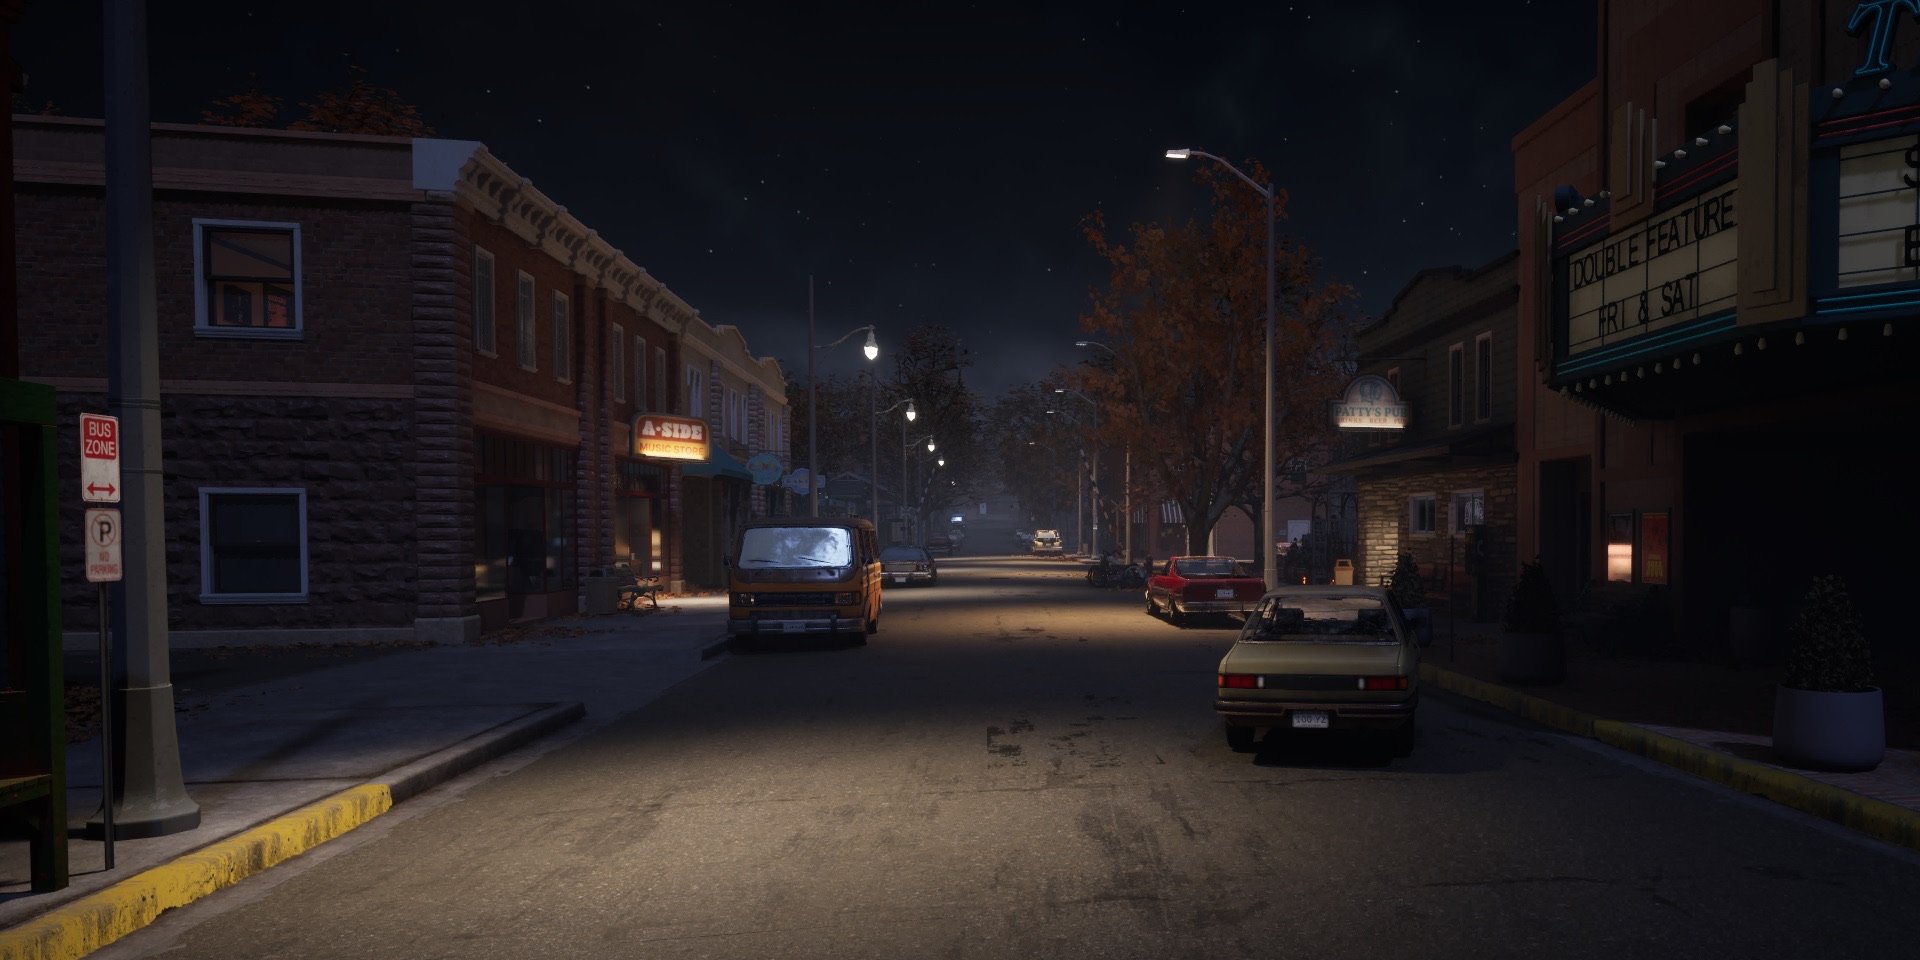
- Haddonfield Town Center — pay phones at Patty's Pub and shops full of lootable tools (Nichols Hardware stocks axes and first aid kits). Good for calls, dangerous in the open plaza.
- Haddonfield Heights — the Strode and Myers houses on Lampkin Lane. Interior hiding spots; the water tower area is a landmark to navigate by.
- Orange Grove Estates — large multi-story homes with fences and hedges that block escape paths. Vehicles and bikes work well on the wide streets, per official copy.
- East Haddonfield — rural and spread out; the Rabbit in Red Lounge and Phelps Garage are the main interiors. Bikes and cars matter most here.
STRATEGY FRAMEWORK
- Scout as two pairs, not four solos. Cover separate points of interest early, but keep at least one teammate close enough to protect conversations, looting and escape interactions once Michael is active.
- Hide Special Targets away from obvious rooms. After the first successful conversation, move a Special Target to an obscure outdoor hiding place while the area is clear. Houses are natural search stops; a concealed outdoor position buys time while the team prepares an exit.
- Arm the team early. Give both Civilians and recruited Residents useful weapons before starting a noisy route interaction. One player works the objective while the other watches the approach and interrupts a grab.
- Make the first police call early. Patrol escalation is time-based on your actions, and stronger patrols are the only official pressure that can detain Michael. Confirmed loop.
- Escort in pairs once Michael is active. Escorting is noisy and leaves you vulnerable; the second hero is the insurance. Inferred from confirmed escort-noise design.
- Rescue before taking your own exit. Special Targets are the first evacuation priority, followed by reachable residents. Do not leave just because an exit opens if the next rescue is safe and planned — but take the open route when staying would turn a solved escape into an avoidable death.
- Treat fights as distractions, not objectives. A window to escape is worth more than a trade. Confirmed: "precious windows for escape" is what fighting buys.
- Don't waste the Deputy/Loomis life. Your post-death role supports the survivors — use it to bait Michael away from an escape in progress. Confirmed role, tactical application.
- Upgrade cards before hard matches. Temporary card upgrades last a set number of matches — spend them when you're actually pushing for wins, not farming points. Confirmed system.
Survivor FAQ
How many heroes can play in Halloween: The Game?
Up to four Hero players take on one Boogeyman in 1v4 multiplayer matches. Singleplayer and private matches against AI use the same cast.
How do you win as a survivor?
Save residents and reach randomized escape routes before Michael catches you. Alerting the police escalates patrols, which is the only way to ultimately detain the Boogeyman.
What are the best survivor characters?
Laurie is the safest all-round choice at 8 / 6 / 9 / 7, while Marcus is the objective specialist with 10 Resourcefulness. Tanya and Alexis each have 10 Personality for rescue support, and Rachel's combat-focused traits make her the stronger fighter.
Can survivors fight the Boogeyman?
Yes — with melee weapons, throwable household items, firearms and equipped NPC followers. But he can't be killed; fighting only buys time to escape or detain him.
What happens when you die as a survivor?
Your Haddonfield story isn't over — you return as a Sheriff's Deputy or as Dr. Loomis to support the remaining survivors and responding officers.