Killer Guide
Last verified: Sep 18, 2026 · Patch 1.0.2 + week-one roadmap
In Halloween: The Game you can take the Shape of Evil as Michael Myers — the Boogeyman who escaped Smith's Grove Sanitarium and walked home to Haddonfield. This killer guide explains everything IllFonic has confirmed about playing Michael: his Killer Sense stalking, the Shape Jump mobility tool, ability picks such as Blackout and Reality Tear, and how to control a match against four Heroes of Haddonfield and their NPC allies.
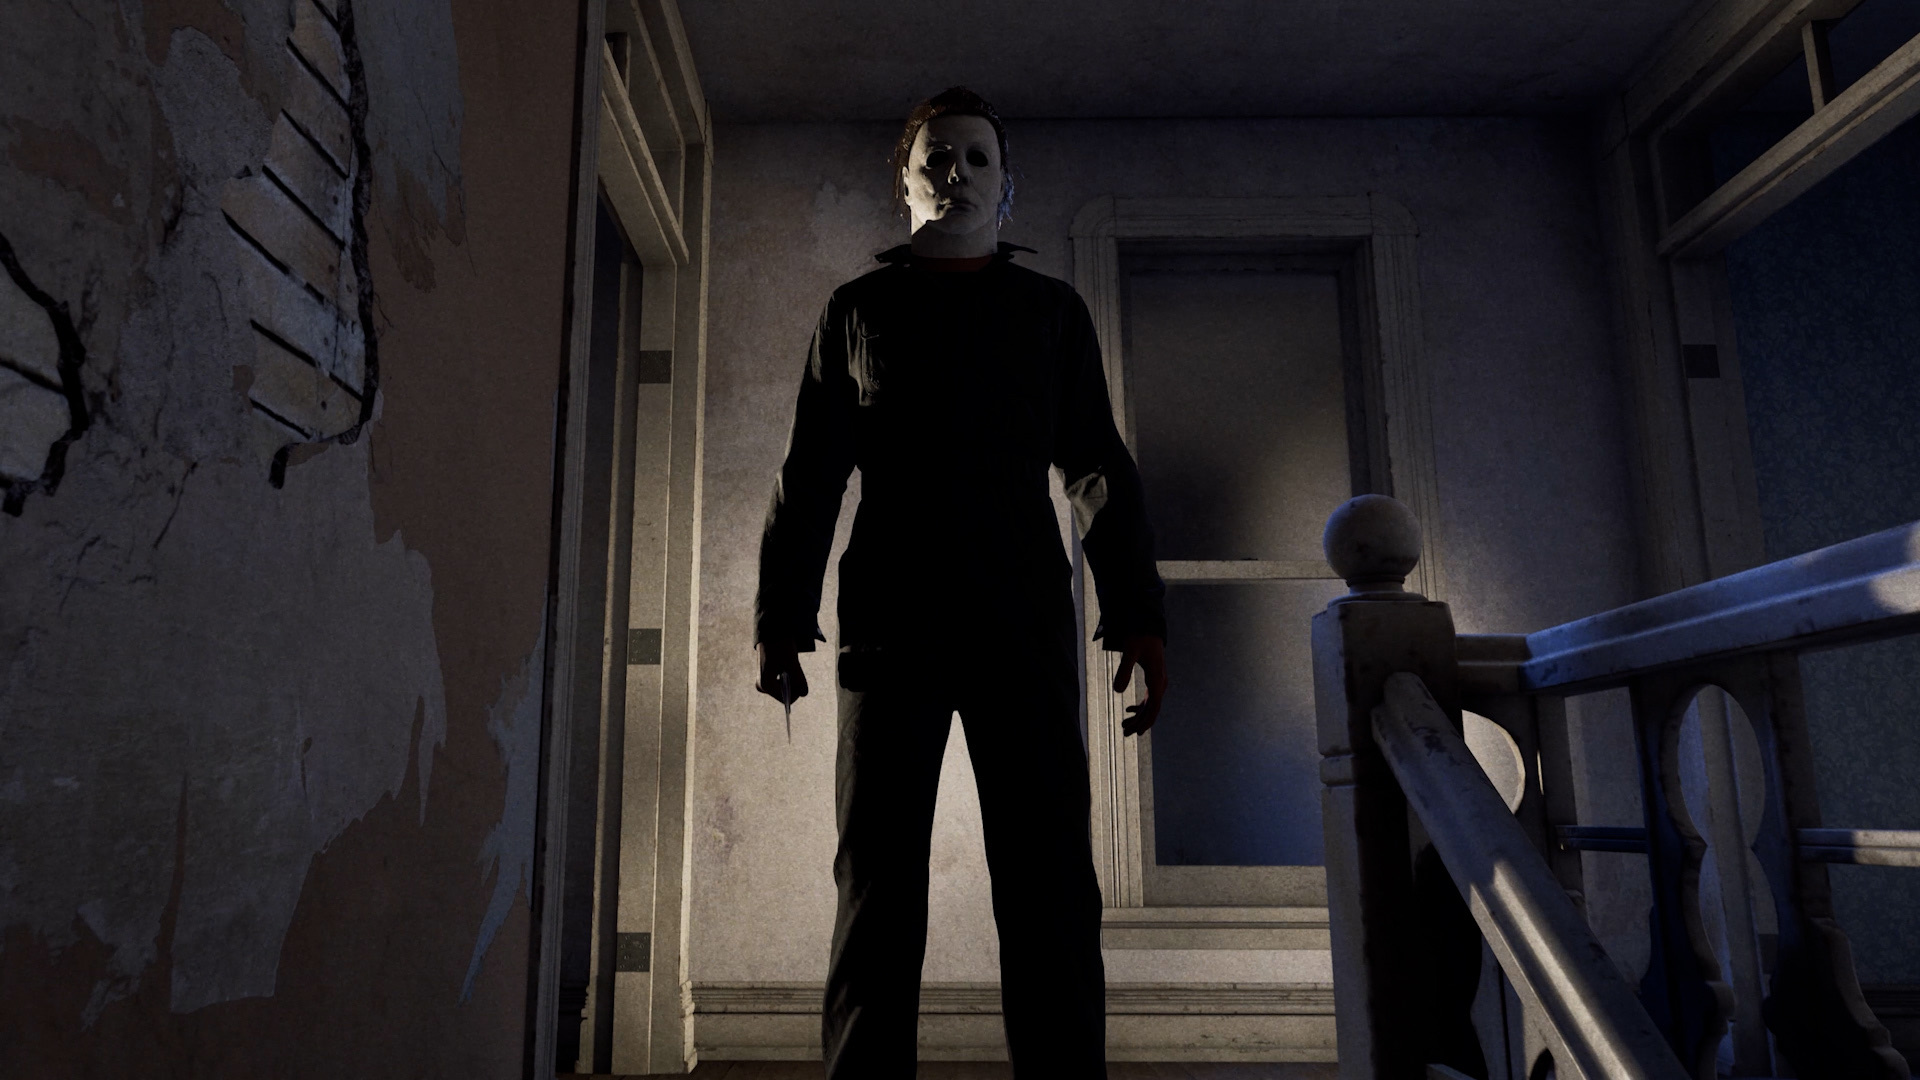
ROLE & MATCH GOAL
Michael Myers is a stalker. Official descriptions paint him as "a creeping, methodical killer" who begins each match with a list of Special Targets — residents positioned across the map whose deaths "supply greater rewards if killed before time expires." Your core loop as Michael is to locate, terrorize and execute those targets with the nightmarish ability suite, while any civilian bold enough to interfere becomes fair game.
Killing everyone is the fantasy, but the scoring incentives point at the Special Targets first. The Heroes of Haddonfield win by saving residents and reaching randomized escapes, so your real job is to interrupt rescues, cull the NPC population before it becomes a mob, and keep the four players from ever organizing an escape.
STARTING TRAITS
Every Michael loadout comes equipped with two starting traits that IllFonic says provide "essential tools for stalking and slaying":
- Killer Sense — step behind the mask and stalk in first person. Michael becomes aggressively aware of his surroundings and the proximity of prey; focusing on targets builds Stalk, which improves tracking and opens more satisfying execution options.
- Shape Jump — slip into the shadows to move unseen. It raises base movement speed and unlocks Shape Dash, a lunging burst of forward momentum. Michael can only enter or exit Shape Jump in darkness or outside a resident's line of sight.
The two traits are the confirmed spine of the kit. From there you customize Michael's three ability slots, starting weapon and appearance (see abilities below), which is where loadouts get their identity.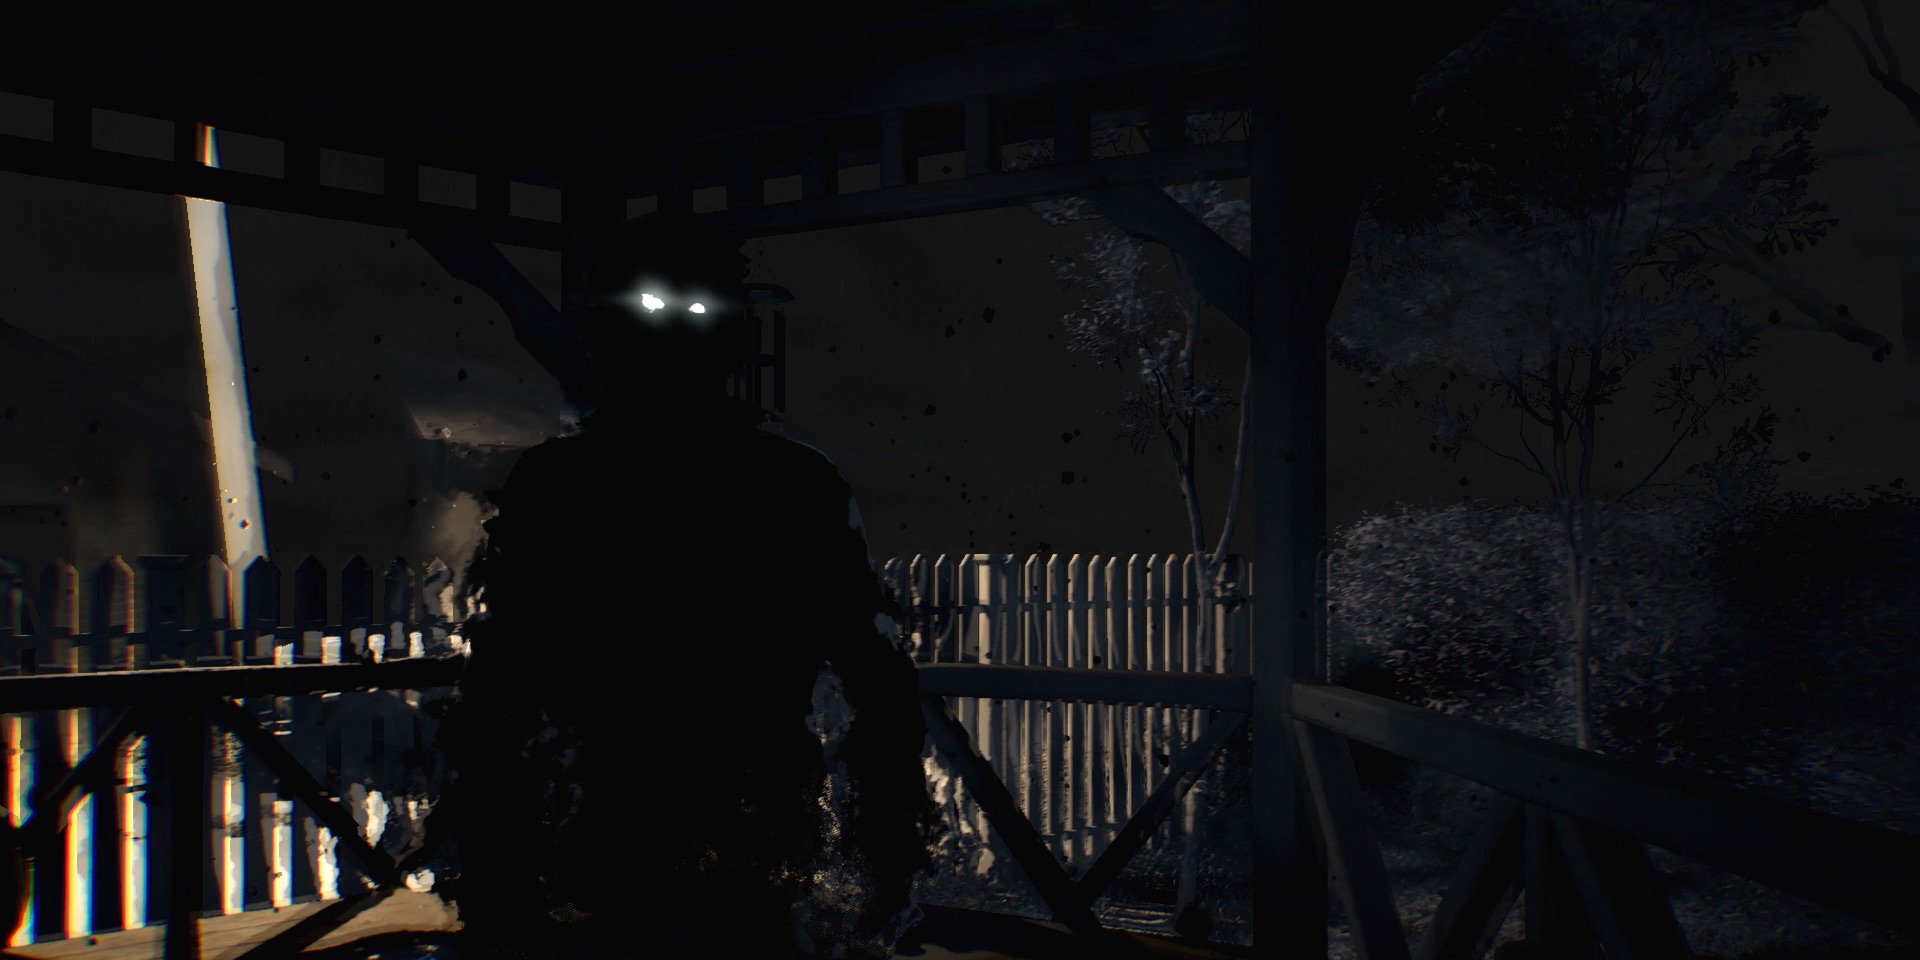
HOW STALKING WORKS
Halloween's design director Jordan Mathewson describes a "multi-perspective approach to stealth" built into the game. Michael uses darkness to move undetected — not only to evade the heroes but "to accomplish his murderous objectives." In the launch build, the stalking flow works like this:
- Activate Killer Sense. Press R on keyboard, RS on Xbox, or R3 on PlayStation. Entering a designated hiding spot also activates it automatically.
- Read the sound pings. Killer Sense drops you behind the mask in first person and turns nearby footsteps, environmental noise and distractions into visual audio cues on the HUD.
- Hold your aim to build Stalk. Keep the reticle on a civilian to fill the target's Stalk meter. Watch their body for Focus Points; centering the reticle on and breaking these markers accelerates the meter.
- Convert Stalk into pressure. Higher levels weaken the victim and keep them marked after they leave sight. Patch 1.0.1 increased the duration of those Stalk Markers. The HUD also shows when the target has enough Stalk for level-gated Context Executions.
- Do not overvalue an early grab. Patch 1.0.1 made targets at Stalk level 1 or 2 more likely to struggle free while grabbed, so build more Stalk or isolate the target before committing.
Passive eye contact can build Stalk too, but Killer Sense is the faster, more informative option. Use it from outside a civilian's view — through windows, from behind, or out of a hiding spot — rather than standing exposed while the meter fills.
Matches are described as starting "slow, cautious and methodical" before escalating to a climax. Spend the opening minutes stalking rather than committing — the tension curve is the design, and early kills alert the town faster than late ones.
Bloodthirst tiers
Stalking also fills a second, slower meter: Bloodthirst. Stalk is per-victim; Bloodthirst is Michael's own power curve for the whole match. You raise it by stalking, executing, and then holding Killer Sense on the body you leave behind — each threshold announces itself on screen as a new tier is reached. Official patch notes describe the tiers as bolstering "damage resistance, grab strength, melee damage, ability cooldowns, Shape Jump speed, and more."
The three tiers read as a sliding scale of pressure. The early tiers sharpen tracking and movement, the middle tier adds weapon damage and faster ability cooldowns, and the top tier is where Michael becomes genuinely hard to put down and where grabbed civilians struggle hardest to break free. Bloodthirst does not bleed away on its own, but a knockdown costs you a real chunk of it — that is the price of wading into a group of armed civilians.
To make Michael's opening minutes less fragile, Patch 1.0.2 increased his base damage resistance and increased the resistance granted by Bloodthirst tier 1 and tier 2. The intent is a more forgiving climb to tier 3, when the neighborhood arms itself after the first few kills.
Practical upshot: build Bloodthirst on isolated civilians and Special Targets before you test the lobby's armed players, and treat the first minutes of a match as a ramp-up phase rather than a fight you can win at tier zero.
ABILITIES & LIGHT CONTROL
Michael has three ability slots, but the launch build offers a pool of six selectable abilities. Reality Tear, Blackout and Detection Pulse are available first; the other three arrive through Killer Level progression.
| Ability | Launch-build effect | Where it fits |
|---|---|---|
| Blackout | Temporarily disables civilian technology and can fry a car engine, forcing its occupants to abandon that escape attempt. | Shuts down escape tools while denying bright safe zones and creating Shape Jump windows. |
| Detection Pulse | Temporarily marks victims and reveals occupied buildings. Patch 1.0.1 made it more effective at locating residents inside Hiding Spots. | Checks several hiding spots at once and reacquires survivors who broke line of sight. |
| Reality Tear | Lets Michael trigger Shape Jump immediately, even when the normal light restriction would prevent it. Patch 1.0.1 fixed activation while Michael is getting up from a downed state. | Closes distance on a fleeing target or escapes a bad position in the light. |
| Shadow Strike | Throws a shadow projectile that briefly blinds and slows its victim without dealing damage. | Interrupts an armed civilian or removes their sight long enough to create a Shape Jump opening. |
| Evil Presence | Temporarily strengthens Michael, accelerates Fear buildup in nearby civilians and extends his grab reach. | Turns a close pursuit into a grab attempt while making clustered civilians harder to manage. |
| Shape Mines | Places a proximity trap that reveals the civilian who triggers it, causes hallucinations and builds Fear. | Watches an escape or other important route while Michael hunts somewhere else. |
Light is the central tension: civilians are safest where it's bright, and Michael can only use Shape Jump in darkness. Because "The light may provide temporary reprieve for the residents," your ability picks and map knowledge should revolve around manufacturing darkness — then striking from it.
Best launch-build loadout
For the strongest general-purpose setup, equip Reality Tear, Blackout and Detection Pulse. Detection Pulse supplies information, Blackout removes technology and light, and Reality Tear gives you an emergency route into Shape Jump. All three are available from the start, so the build works before the later progression unlocks and covers pursuit, escape denial and recovery without depending on a narrow setup.
Pair those abilities with the Axe or Pickaxe when available. Their slower heavy swings trade speed for high damage, extra reach and quick destruction of doors and vehicle escapes. At Bloodthirst tier 3, launch-build testing found that either weapon can reliably defeat a full-health civilian with two heavy attacks. Commit only when the hit is lined up: a missed heavy swing leaves more room to flee than the faster one-handed starters.
What's next for Michael
The developers' week-one status post sets the direction of the next balance pass, and most of it lands on the killer side of the match. Three changes are named:
- Perk effectiveness comes down. IllFonic is "planning a series of changes designed to reduce the excessive effectiveness of select perks," explicitly so the Boogeyman gets better answers to lobbies that stack civilian perks into a crowd and swarm him.
- Staggering Michael gets harder. The team wants it "more difficult to stagger Michael, especially after successive downs," so a knockdown chain should stop handing civilians a free rotation while you climb back to your feet.
- Melee is being retuned for both sides. Melee damage, civilian stagger states and combo attack speed — named for weapons like the wood axe — all sit in the same pass, aimed at the close-range exchange Michael loses most often when he is surrounded.
An update is targeted for the week of September 21 to carry these balance items alongside a batch of bug fixes, with a Quality of Life update planned for early October. Nothing has shipped at the time of writing, so the launch build still plays exactly as this guide describes.
YOU CAN'T KILL THE BOOGEYMAN
Michael cannot be killed. If a group of armed residents and responding officers ever overwhelms him, the best they can do is detain him and ship him back to Smith's Grove Sanitarium. Never play scared of a fight — but respect that enough noise and resistance can end your match early.
The flip side: civilians can fight back with weapons, command NPCs, and escalate police patrols by making calls. Michael players should treat an alerted, armed neighborhood as a clock — the longer a match runs, the more organized the resistance becomes.
Early Access Hotfix 1 also fixes an issue that could leave Michael without a prompt to get back up after being downed.
How an arrest attempt works — and how to stop it
Launch-build match reports reveal the full danger sequence. Heroes first use residents or phones to bring in more police. After a teammate escapes or dies, the remaining team can use a CB Radio to return that spectator as Dr. Loomis, or the spectator can earn the Police Reinforcements perk and return as an officer. Several officers plus a player-controlled officer or Loomis can then surround Michael and fill the handcuff-shaped Arrest Meter. Once it is full, the team must down Michael and complete a hold-interact arrest mini-game before he gets back up.
- Break the setup early: cut phone lines, attack callers and guard nearby CB Radios before the authority roles arrive.
- Leave a police cluster: if the handcuff meter appears, disengage and split the group instead of trading hits inside the officers' formation.
- Protect the get-up window: survivors still need to down and interact with you after filling the meter. Win the get-up mini-game quickly; Patch 1.0.1 also fixed Reality Tear failing to enter Shape Jump while Michael rises.
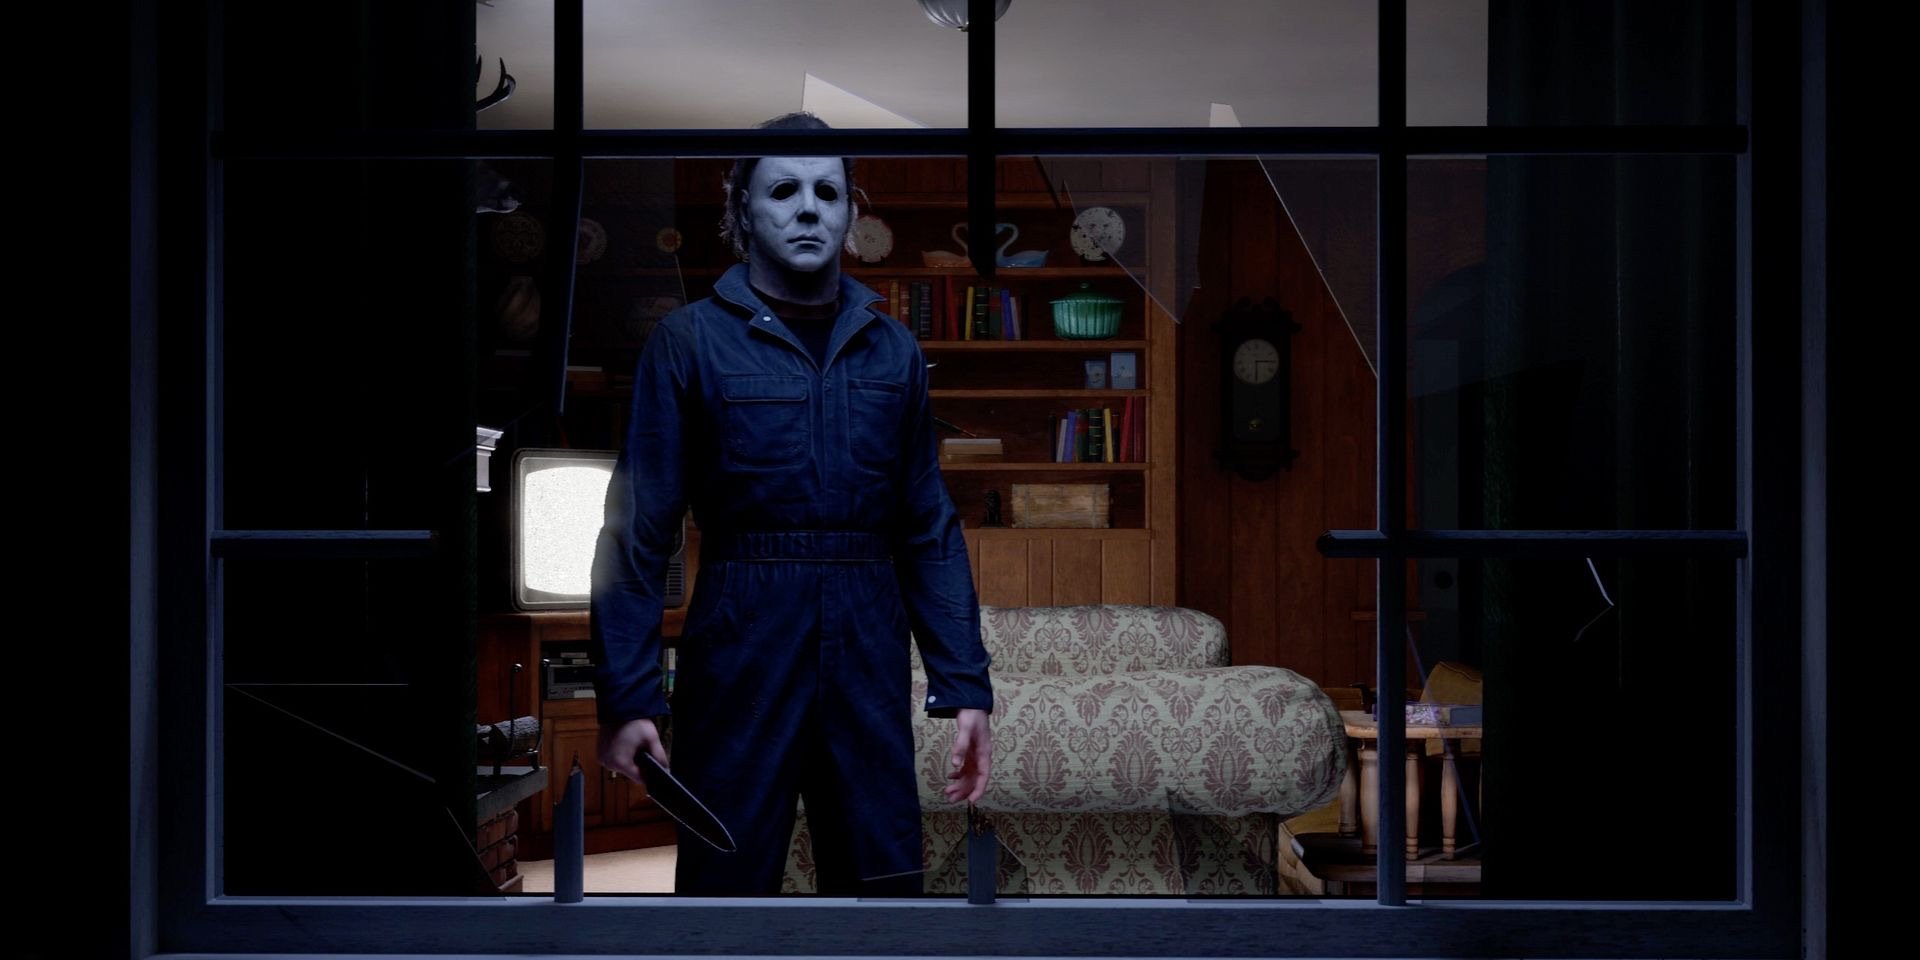
MAP-BY-MAP APPROACH
All four launch maps share the 1978 suburban-night language but play differently for the stalker:
- Haddonfield Town Center — dense commercial interiors (Nichols Hardware, A-Side Music Store, Patty's Pub). Lots of cover and light sources to kill; watch the streets between buildings where heroes make calls from pay phones.
- Haddonfield Heights — the neighborhood of the Strode and Myers houses, with an enormous water tower looming over quiet streets. Long sightlines down Lampkin Lane; Shape Dash across open road when the moon is your only witness.
- Orange Grove Estates — upscale multi-story homes (Wallace and Doyle residences) with fences and hedges creating chokepoints. Interior verticality means second-floor and balcony plays; official notes warn players about "precarious upper-level gameplay."
- East Haddonfield — rural farmland, the Rabbit in Red Lounge and Phelps Garage. Fewer buildings, more open ground; vehicles and bikes give civilians speed, so pressure the garage and bar interiors where they loot.
Escape routes and item spawns are randomized per match for civilians — but the maps themselves are fixed. Learn each map's landmark interiors and power sources first; that knowledge is permanent even when the loot isn't.
STRATEGY FRAMEWORK
Everything below follows directly from the officially confirmed mechanics above. Where a recommendation goes beyond confirmed details, it's clearly flagged as an inference.
- Move shadow to shadow. Because Shape Jump requires darkness or out-of-sight positions both to enter and exit, plan routes through the map's dark pockets. Confirmed.
- Hunt the Special Targets before they become NPC mobs. Rewards are tied to killing them before time expires, and every surviving resident is a potential witness who can call the police. Confirmed incentive structure.
- Kill the light. Blackouts, light switches and power cuts deny civilians their only confirmed counter (visibility) and open Shape Jump angles. Confirmed tools; timing is your choice.
- Do not chase into bright, open ground. Civilians on bikes and in vehicles outpace Michael in the open — official map copy highlights vehicle play in Orange Grove Estates and East Haddonfield. Inference: force them indoors or into chokepoints instead.
- Escapes are loud. Initiating an escape generates heavy noise and alerts Michael to the exact location. Camp near likely escape routes late in a match and let fleeing heroes walk into you. Confirmed mechanic, tactical application.
- Watch for the Deputy and Loomis. Downed civilians can return as a Sheriff's Deputy or Dr. Loomis to keep fighting. A "dead" lobby is never empty. Confirmed.
LOADOUT & PROGRESSION NOTES
Michael's progression runs on Killer Level (XP from terrorizing Haddonfield as the Boogeyman) and Weapon Level (XP from dispatching victims with specific equipped weapons). Leveling unlocks new Michael abilities, starting weapons, cosmetic tints, executions and challenge tiers, with prestige available at max level. Kill Skins and Tints let you restyle the Shape — including a "legendary look" tied to completing every singleplayer challenge, and pre-order/edition skins such as Phantom, Inmate and Samhain.
Michael Myers FAQ
Is Michael Myers the only killer in Halloween: The Game?
Yes — at launch the killer side is Michael Myers alone. The game is built around him: 1v4 matches pit one Michael against four Heroes of Haddonfield.
Can Michael Myers be killed?
No. The official line is "You Can't Kill the Boogeyman." With enough community resistance, equipment and manpower, civilians can detain him and send him back to Smith's Grove Sanitarium, which ends his rampage — but he is never killed.
What abilities does Michael Myers have?
He starts with Killer Sense and Shape Jump, then equips three abilities from a six-choice pool: Reality Tear, Blackout, Detection Pulse, Shadow Strike, Evil Presence and Shape Mines.
How do you play Michael Myers well?
Stay in darkness, build Stalk before committing, cut light sources with Blackout and power control, pressure Special Targets early, and use loud escape sequences as bait. Details in the strategy section above.
Does playing Michael Myers require multiplayer?
No — the singleplayer story mode is played as Michael Myers against AI, and Michael's abilities and executions also carry progression in solo play. See the single player guide.