Items & Weapons
Last verified: Sep 10, 2026 · Patch 1.0.1
Haddonfield is littered with things you can pick up, and almost none of them are labelled. Some keep you alive, some open the way out, and some buy you a few precious seconds when Michael Myers finds you first. This items list breaks down the full launch toolbox — survival supplies, keys and tools, throwables, melee weapons and firearms — and explains what each one is actually for.
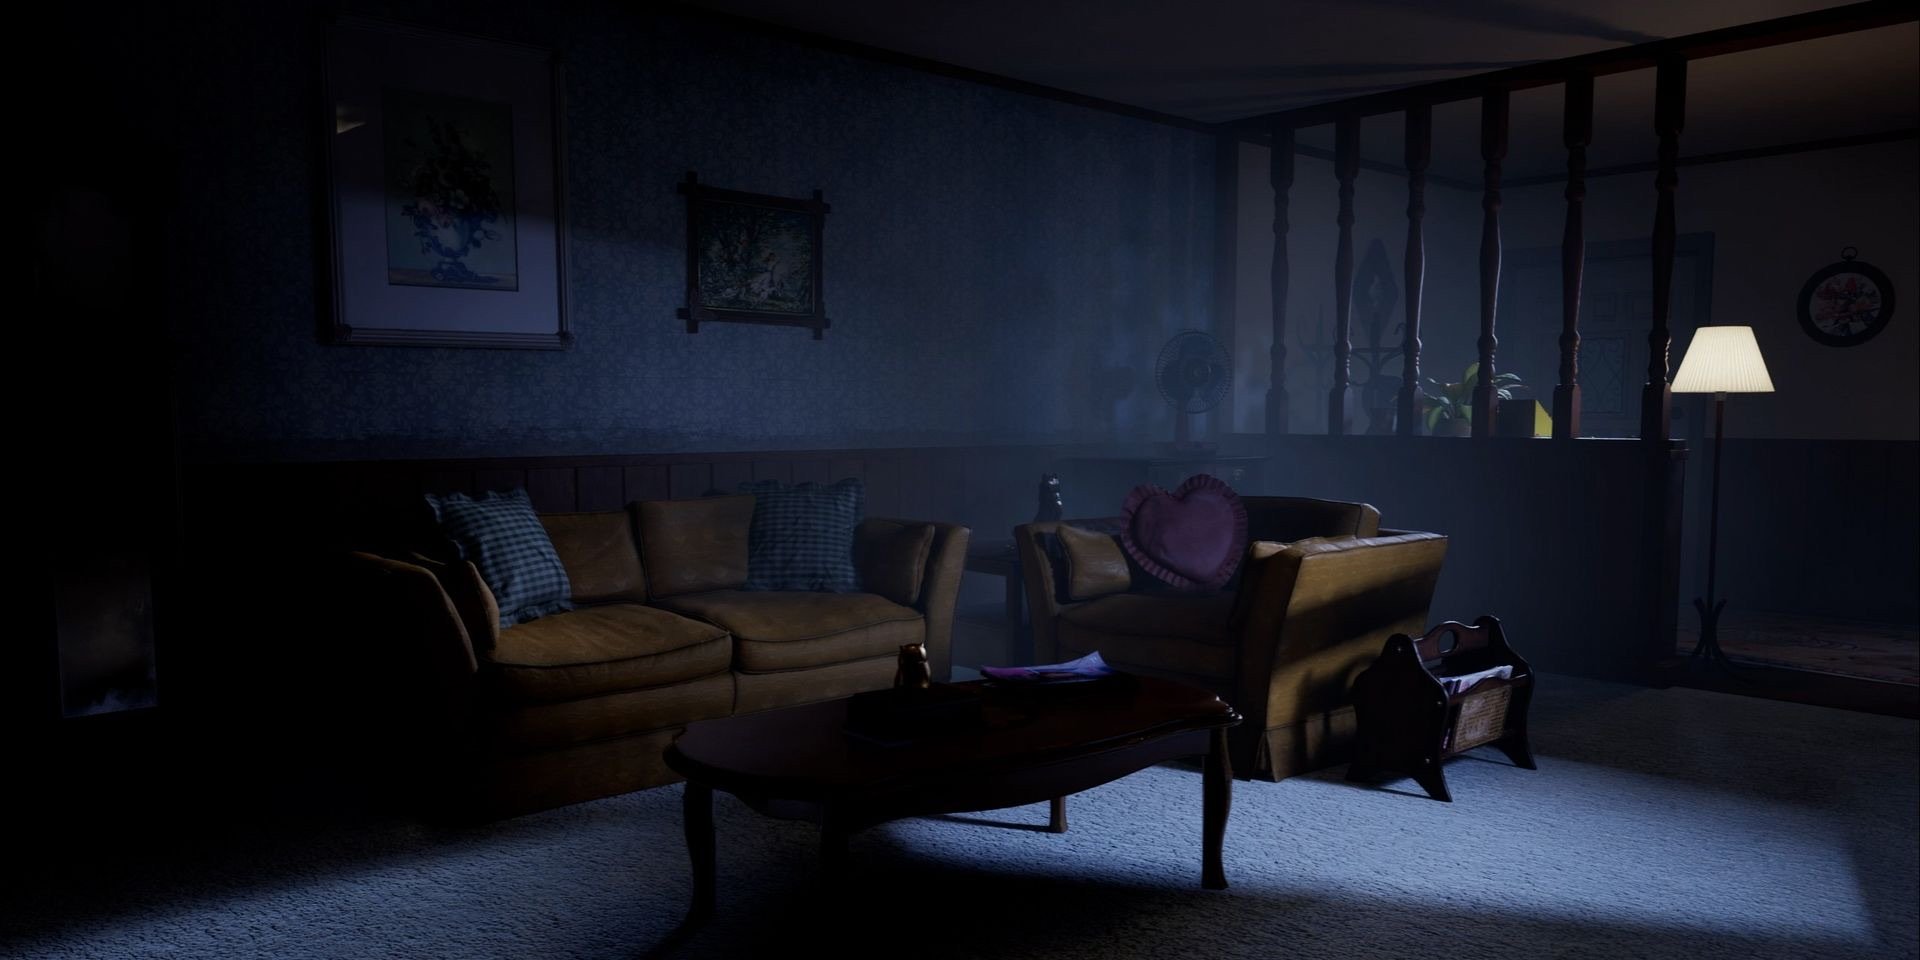
HOW ITEMS WORK
Items come from two places: the loadout you bring in and the containers, shelves and points of interest you loot as you move through a match. Most are single-purpose, but a few have a second life — a bottle you drink can be thrown once it is empty, a tool that opens a door can also be swung in a pinch.
- Equip vs. throw. Melee weapons and firearms are equipped and used directly. Many throwables share the same input, so learn your alt-fire early.
- Grab escapes. A small set of sharp objects lets you stab free when Michael grabs you — some require an input, others trigger automatically.
- Stay light. You can only carry so much. Route-specific items (the Fuse, the Sedan Key) are worthless to you alone, so call out their location the moment you find them.
- Search everything. Weapons and tools spawn in houses, sheds, garages and locked containers, not on the street.
How hard your improvised gear hits depends on your hero. Melee weapons and thrown household objects scale with Capability; firearms and vehicles scale with Resourcefulness. Match the loot to your character's spread.
SURVIVAL & RECOVERY ITEMS
These keep you or your neighbors in the fight. Healing is deliberate — some of it pins you in place while it works — so treat health as a resource you spend, not a bar you sip from mid-chase.
| Item | What it does |
|---|---|
| Health Kit | A full heal with several uses per kit. Healing takes time and you must stay still, so break line of sight first. |
| Health Spray | A quick heal you can apply to yourself, a teammate or a rescued resident — the flexible pick when several people are hurt. |
| Beer | Drink it to settle your Fear, at the cost of a wobble in your vision and controls. Drink somewhere safe; the empty bottle can be thrown, and a broken bottle doubles as a close-range weapon. |
| Joint | A consumable that eases Fear buildup and overlays extra awareness of what is happening around you. Treat it as a comfort pick, not a combat tool. |
| Pops | Reduces how fast you burn stamina, and can be thrown to damage or stagger Michael in a pinch. |
| Locker Code | Opens a locked locker for a random item — a small gamble that occasionally pays out a route-critical tool. |
KEYS & TOOLS: OPENING THE WAY OUT
Tools are the quiet half of the item list. Every escape in the game is gated behind one or two of them, so the items below are worth more than any single weapon once your team has committed to a route.
| Item | What it does |
|---|---|
| Fuse | Repairs the keypad that powers the Outskirt Gate escape, and advances a few other powered objectives. It is one of the rarer finds, so never leave it lying in a house you may not pass again. |
| Bolt Cutters | Cuts chains and padlocks for the Gate and Storm Cellar escapes, frees chained bikes, pops locked lockers and can even be swung as a melee weapon. |
| Repair Kit | Fixes a damaged car engine — the backbone of the Sedan escape — and also restores phone lines, power boxes and the CB Radio used to bring in help. |
| Wrench | Repairs machinery and works mechanical objectives; a decent improvised melee weapon when nothing better is around. |
| Escape Key | Opens the Outskirt Gate and the Storm Cellar, standing in for Bolt Cutters at either barrier. |
| Padlock / Gate / Cellar Key | Situation-specific keys for a locked chest, a gate or the cellar entrance. Read the item prompt — a random key is not the key you need. |
| Sedan Key | A distinct item used to start the Sedan once its engine is repaired and fueled. Finding "a key" is not the same as finding this one. |
| Police Car Keys | Start a police car for a vehicle escape and open its trunk for weapons and ammo. They drop when Michael kills an officer. |
| Gas Can | Refuels a vehicle so it can actually be driven to an exit. Spawns fresh each match — call out where. |
Repaired engines can be damaged again and a running car can be stalled, so a second Repair Kit in reserve is never wasted. On the flip side, he can wreck phones, power switches and the CB Radio in a single heavy swing — the objects your whole route leans on.
DISTRACTIONS & ENVIRONMENT ITEMS
You do not always need to hurt Michael — you just need him looking the wrong way. Anything throwable can pull his attention or knock him off balance, and the humble objects below are the cheapest crowd control in the game.
| Item | What it does |
|---|---|
| Baseball / Brick / Rock | Throw to make noise and draw attention away from your position, or land a hit to damage and briefly stagger Michael. |
| Lawn Dart | A throwable that deals real damage at range, and doubles as a grab-escape tool like a pocket knife. |
Heavier melee weapons also interact with the world: a solid hit can smash fragile objects, which is why a well-armed survivor can quietly deny Michael the very shortcuts he relies on. The same logic runs the other way — his axe deletes a phone or a car in one swing, so keep spare objectives in mind.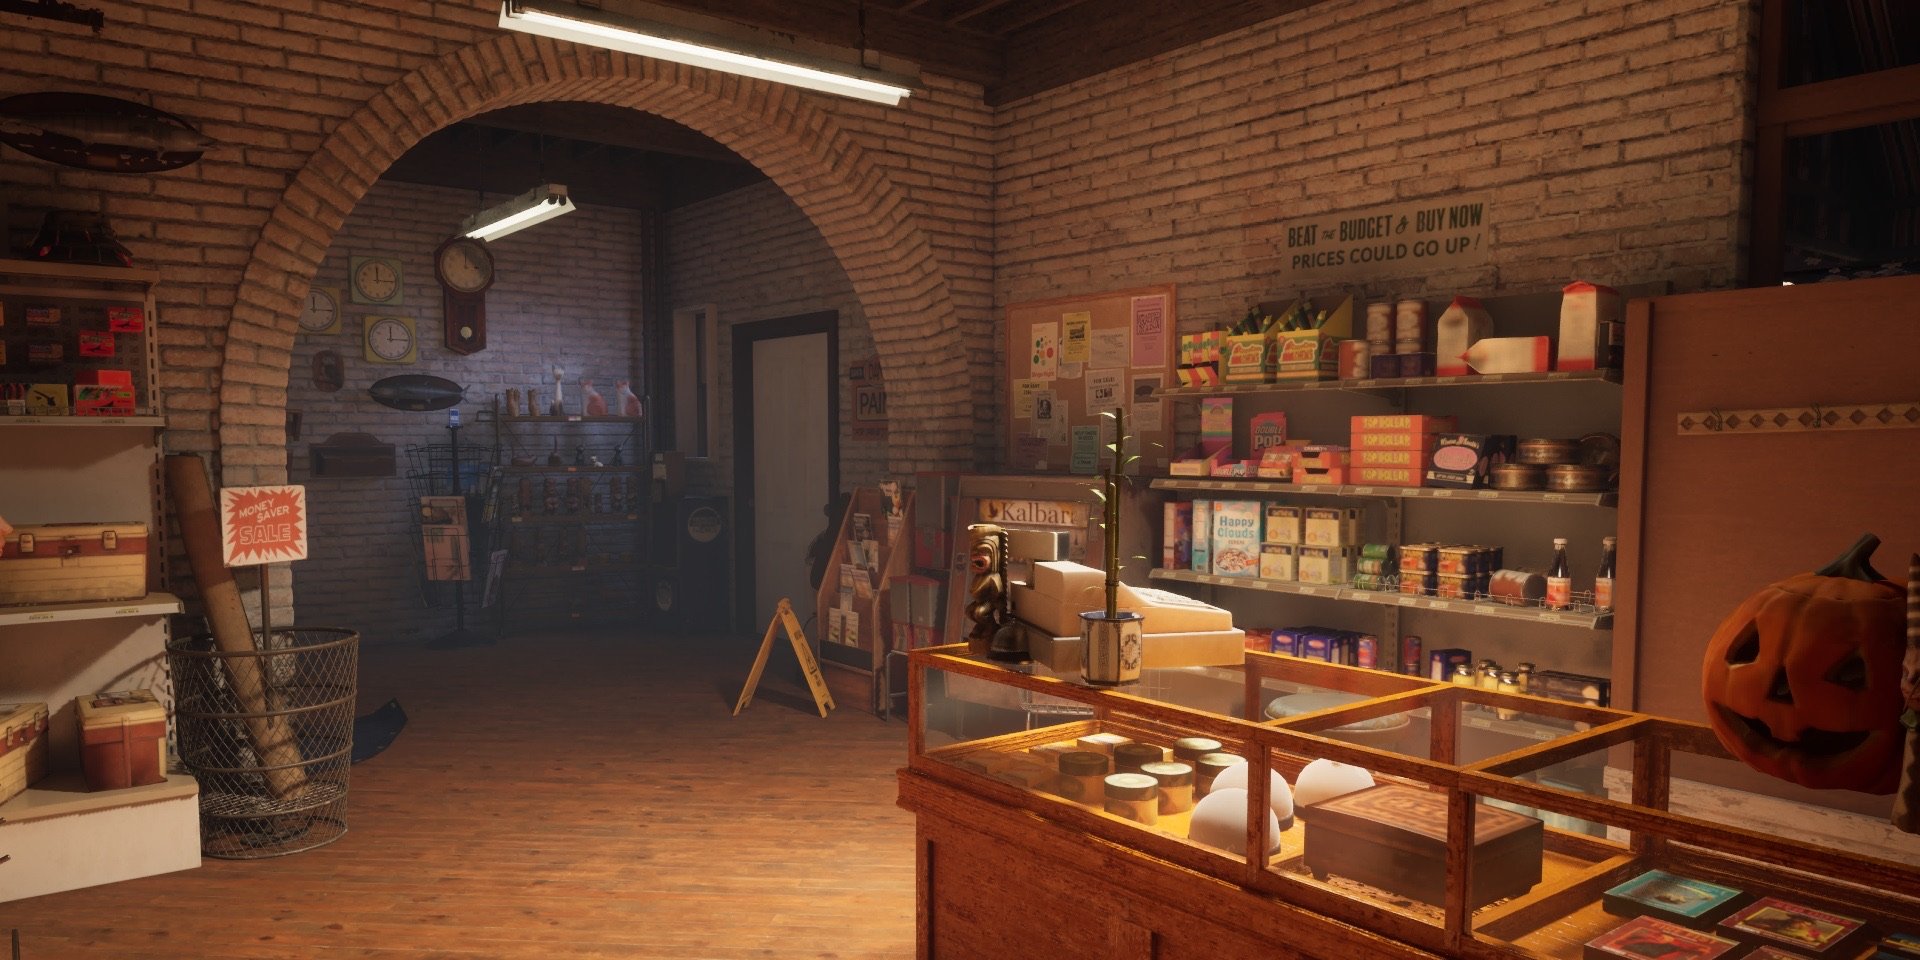
MELEE WEAPONS
Melee is the survivor's default answer to Michael. Every melee weapon has a standard and a heavy attack, and a few can be thrown with the alternate-fire input instead of swung. Damage scales with your hero's Capability, so a Capability-heavy civilian gets far more out of the same axe.
| Weapon | Where it turns up | Notes |
|---|---|---|
| Kitchen Knife | Kitchens and lootable containers | Standard and heavy attack; the most common starter blade. |
| Cleaver | Lootable containers | Standard attack; can be thrown via alt-fire. |
| Hatchet | On the ground and in containers | Standard attack; throwable via alt-fire. |
| Baseball Bat | Inside houses | Two-handed; standard and heavy attack. |
| Fire Poker | Houses, near fireplaces | Two-handed; standard and heavy attack. |
| Pipe Wrench | Out in the world | Standard and heavy attack; also treated as a repair tool by some objectives. |
| Police Baton | Dropped by officers | Standard and heavy attack; reliable all-rounder. |
| Axe | Next to trees and houses | Two-handed; standard and heavy attack, and strong against fragile objects. |
| Pickaxe | Sheds | Two-handed; standard and heavy attack. |
| Pitchfork | Sheds, garages and outbuildings | Two-handed; standard attack plus a throwable alt-fire. |
A thrown weapon lets you damage Michael from outside his grab range, then reposition. If your hero is fragile, keep a throwable equipped and treat every melee exchange as a last resort.
FIREARMS
Guns hit harder and farther than anything else a civilian can carry, but ammo is finite and every shot is loud. Firearms scale with Resourcefulness, so a Resourcefulness-heavy hero gets the most out of a found revolver or rifle.
| Weapon | Default capacity | What it is for |
|---|---|---|
| Magnum Revolver | Six rounds | A dependable mid-range sidearm; found by looting or dropped by officers (and issued to player-controlled authorities). |
| Shotgun | Four shells | Devastating up close — the panic-button weapon when Michael is already in your face. |
| Rifle | Four rounds, scoped | Long-range pressure; a clean headshot can drop Michael instantly, which makes it a prime finisher for an arrest attempt. |
Ammunition comes from looting, from fallen officers, and from the loadout of a player who returns as Dr. Loomis or a police officer. See the arrest walkthrough for how firearms, flashlights and a full handcuff meter combine into a detain rather than a simple knockdown.
LIGHT, STUN & ANTI-GRAB GEAR
A whole category of items exists purely to survive an encounter you cannot win by force. Light beats Michael's Shape Jump, stun items create a window to run, and a couple of items even cancel a grab entirely.
| Item | What it does |
|---|---|
| Flashlight | Your default light source. Shine it on Michael during Shape Jump to reveal him on the mini-map, and point it straight at him to blind — which also stops him slipping back into the shadows. |
| Road Flare | A flashlight you can throw. Blinds Michael if he is caught looking at it, and lights up an area on landing. |
| Brass Lantern | When lit, it exposes Michael while he is moving in his phantom Shape Jump as a visible dark shape in the green glow — an early-warning tool rather than a chase-breaker. It can be carried or thrown. |
| Flare Gun | Fired into the air, it pushes one segment of police response — genuinely useful for a Paddy Wagon plan. Fired at Michael, it damages and blinds him. |
| Firecrackers | Loud and blinding in equal measure. Throw them to stun Michael or to send him toward the noise while you slip the other way. |
| Fragile Hourglass | Thrown, it slows Michael in a burst of fog; a smart throw on a downed Michael drags out his recovery. Kept in your inventory, it reveals escape items within roughly ten meters. |
| Ancient Amulet | An automatic safeguard: it negates one grab or attack from Michael with no input required, then shatters. A pure insurance pick. |
| Ice Pick / Pocket Knife | Stab Michael the moment he grabs you to break the hold far faster, and swing them as ordinary melee weapons the rest of the time. |
The Lantern, Hourglass and Amulet are powerful but occupy slots you might want for a route item. If your team already has light and a clean escape plan, consider letting someone else carry the comfort gear.
WHICH ESCAPE NEEDS WHICH ITEMS
Item spawns and escape routes shuffle every match, so let what your team finds decide the plan. This table is the short version of the full escape breakdown.
| Escape | Items / effort required | The catch |
|---|---|---|
| Police / Paddy Wagon | No items — repeated successful phone calls and convincing residents, then wait out the response timer. | Michael can cut a call mid-sentence; starting any escape alerts him, and the wagon takes minutes to arrive. |
| Storm Cellar | An Escape Key or Bolt Cutters, plus clearing the entrance (boards fall to a melee hit, vegetation to an interaction). | The barrier varies by match — boards, plants, chains or a padlock — so read the objective marker rather than assuming. |
| Outskirt Gate | A Fuse plus either an Escape Key or Bolt Cutters, across two mini-games. | The Fuse is rare and route-specific; the gate sits on the map's edge, so the trip costs time. |
| Sedan | A Repair Kit, a Gas Can and the Sedan Key — all three before it moves. | The engine can be damaged again and the car can be stalled mid-drive, so keep a spare Repair Kit in mind. |
WHAT TO GRAB FIRST
- Universal tools before weapons. Bolt Cutters and a Repair Kit unlock multiple routes. A lone knife does not.
- Grab a light early. A Flashlight is both survival and information; it costs you nothing but a slot.
- Report rare items on sight. A Fuse or Sedan Key found and forgotten is a lost match. Ping it, then move on.
- One throwable for everyone. Cheap noise-makers let a whole team redirect Michael without spending health.
- Heal on your terms. Top up behind cover or after a rescue — never in the open with a full Fear bar.
- Match loot to stats. Give the revolver to your Resourcefulness hero and the axe to your Capability brawler.
Items FAQ
What does the Lantern actually do in Halloween: The Game?
When lit, the Brass Lantern reveals Michael while he is moving around the map in his hidden Shape Jump form, showing him as a dark shape inside the green glow. It works best as an early warning for an objective you are holding, and it can be thrown once activated.
How do you escape a grab by Michael Myers?
Carry a stab weapon — an Ice Pick, Pocket Knife or Lawn Dart — and use it the moment he grabs you to break the hold far faster. The Ancient Amulet does the same job automatically, but shatters after a single save.
What is the Fuse used for?
The Fuse repairs the keypad for the Outskirt Gate escape and powers a few other objectives. It is one of the rarer items in Haddonfield, so it is almost always worth carrying or calling out.
Are firearms better than melee weapons?
They hit harder and farther but run on limited, loud ammunition. Melee is renewable and quiet, and both scale with different stats — Capability for melee and thrown objects, Resourcefulness for guns — so the best weapon depends on your hero.
Can you kill Michael with items?
No. Items can stun, blind, slow and knock him down, but the Shape cannot be killed. The best they buy you is an escape window or the setup for a coordinated arrest.